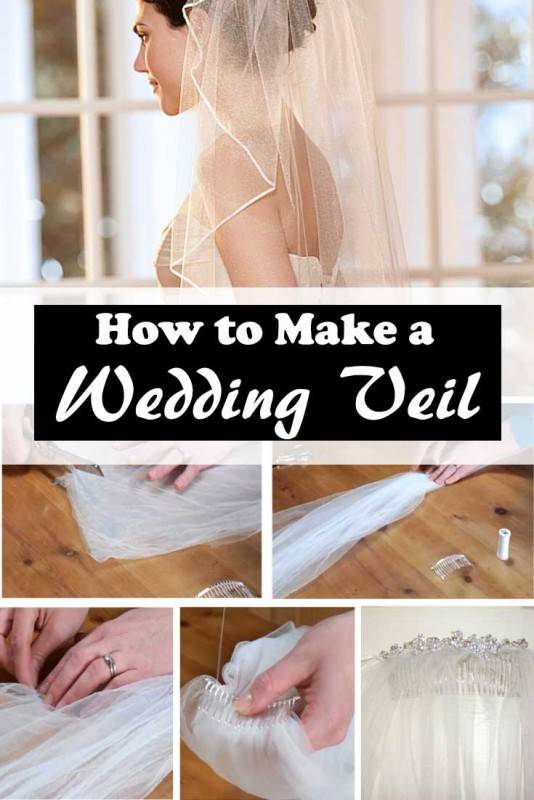
Today, wedding veils come in wide range of styles and as a bride you must choose one that suits you well. But if you want something simpler, then we got you. Creating your own wedding veil makes you enjoy the occasion more.
You need:
- Scissors
- Needle and thread
- One and a half meter of veil fabric
- Hair comb
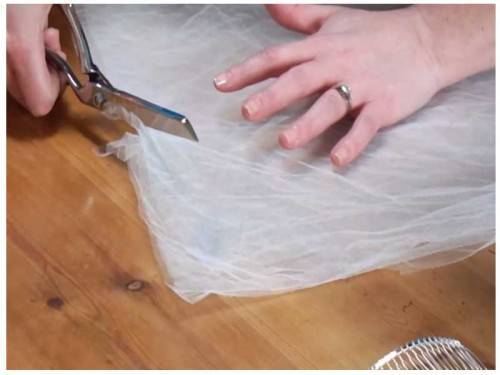
You can choose any veil fabric for this project. To begin, we need to trim the edges. Fold the fabric in half. Make sure the edges are all aligned. Then, trim the edges slowly and neatly.
Next, you have to determine the length of your veil. Unfold the veil and then hold its upper corners and hold them up front. The front part is the one covering your face. Decide if you want the front part to be longer or shorter.
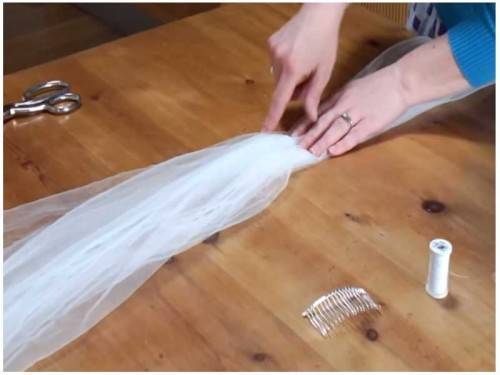
If you are satisfied with the length of your veil, hold that section. It is the part you will put on your head. Now, we make two stitches across that part. Use needle and thread and start at one side. Make small stitches. If you have reached the other side, you go back across the veil. Make the stitches about two centimeters below the first one.
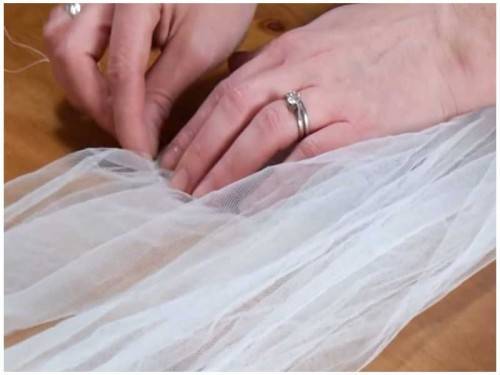
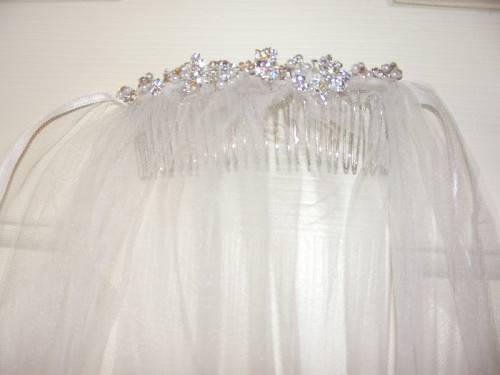
Once done, take the front part of the veil and flip it over to place the hair comb. Secure the hair comb into the veil using needle and thread. Make tiny stitches around the comb. To put some spark on your veil, you can put some gems.
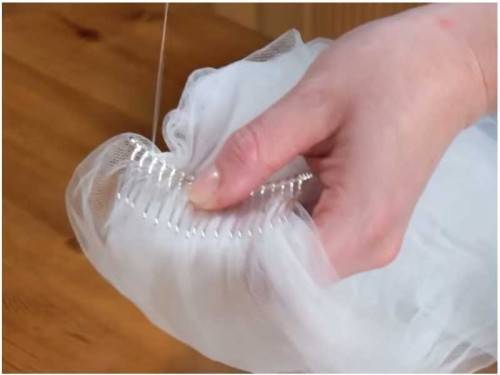
Make adjustments if necessary for the veil to fit perfectly on your head. A DIY wedding veil that still makes you the most beautiful woman for your big day.
