Your wedding is never complete without flowers. A wedding bouquet brightens up the entire event effortlessly. It is also important it matches the bride as it is one of the highlights as she walks down the aisle. With this tutorial, making your own bouquet becomes so simple and easy.
What you need:
- White peonies
- Peach David austin roses
- Cream vendela roses
- Peach spray roses
- Ranunculus & apricot
- Freesia
- Wax flower
- Coffee berry
- Seeded eucalyptus
- Embellishments
- Scissors
- Ribbon and lace
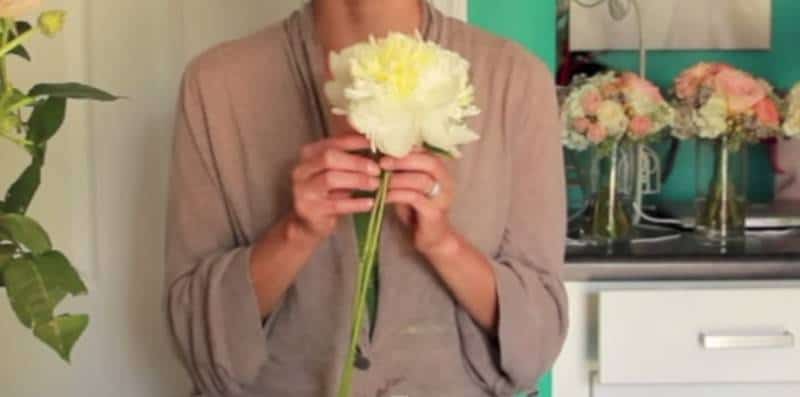
Let us start with the biggest flower which are the peonies. Hold three peonies, then combine them with austin roses. Place them in between the first peonies. Make sure the flowers are even on top. Then, add the vendela roses around the two layers of bloom. Grab the filler flower that is the ranunculus. Be careful as this flower is fragile. If you don’t handle it with care, it may break and destroy your bouquet. Next, the spray roses. They are a bit smaller than the ranunculus but they are perfect to fill those spaces.

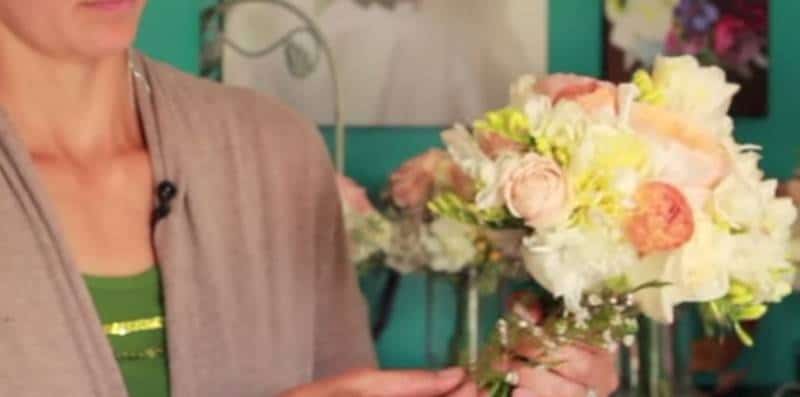
Ensure all the flowers are even. Then, place the freesia. Its unique stem give bouquet more texture. You can also use the stems separately for added texture. Grab the wax flowers and place them on the lower part of the bouquet which gives it a stunning look. They are also functional as they cover up the spaces. Finish your bouquet with the seeded eucalyptus. On this entire task, you need to hold the whole bouquet tightly.

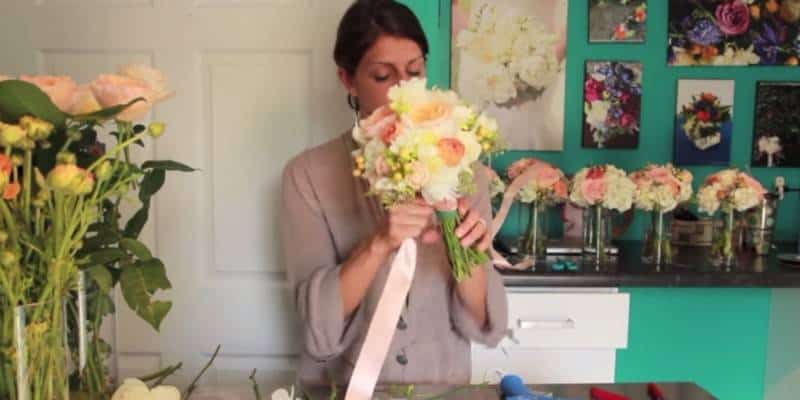
If you are satisfied with the look of your bouquet and the all the flowers are placed, it is time to cut the stems and wrap it up. Carefully, trim the steps and wrap them with floral tape tightly. Then, get the ribbon and lace. Use them to cover up the tape and to make your bloom majestic.

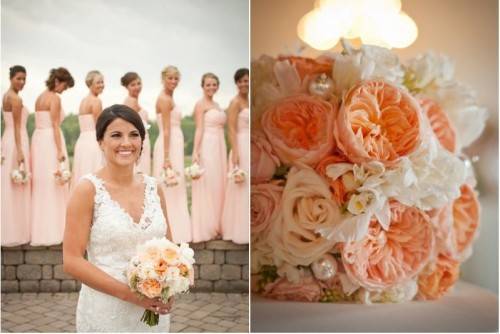
Get your embellishments. In this tutorial, pearl embellishments were used and poke on around the center of the bouquet. Just put a few ones to avoid overdoing it as the bouquet is already beautiful as it is.

And you are finished! A lovely bouquet made from hand that matches your wedding theme as well as your dress.


