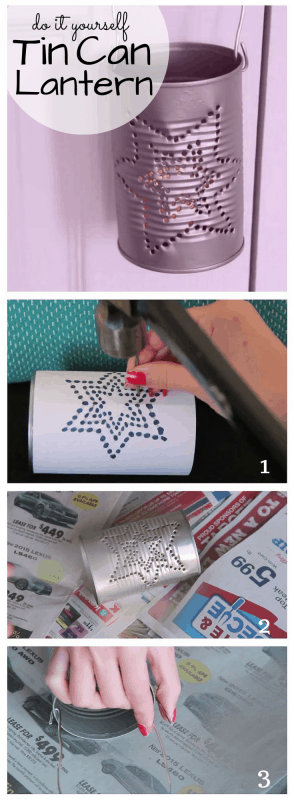
Light effects bring a warm and inviting ambiance to your wedding reception. If you want creativity and elegance, then adding a simple DIY tin can lantern is a beautiful décor or centrepiece. These trendy recycled tin cans can turn any event into a glamorous and fascinating one.
What you need:
- Tin can
- Nail
- Hammer
- LED flameless candle
First, you have to sketch the desired pattern, shape or object on a desired paper. Then, draw dots on the outline of your drawing – this will serve as your guide.

Wrap the piece of paper around the tin can. Use tape to secure it. Grab the nail and hammer. Place your nail on one dot and hammer it down creating a hole on the can. It is better to work inwards to outwards. Make sure the nail won’t be pushed hard that it creates a hole on the opposite side. Continue hammering down those dots until you have obtained your shape. You may put sand or freeze water in the can to make it easier for you to hammer the nail down.

To make your lantern more attractive, you can spray paint on the outside of the can with the color of your choice.

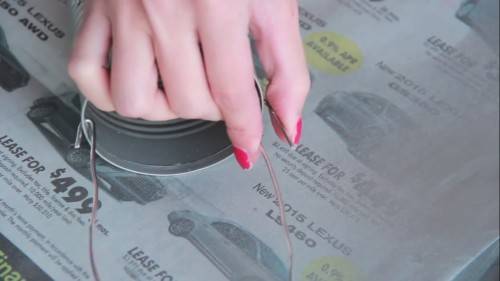
Now we are going to attach the handle. Create two holes on top of the can and insert wire into the holes and secure it with pliers.
And you are done! Illuminate your LED flameless candle and place in the can. Pretty during the day but is surely stunning once it gets dark. Excellent for rustic-themed wedding!

Watch How it is Done
Save all the Steps Above using this Bookmarklet
